
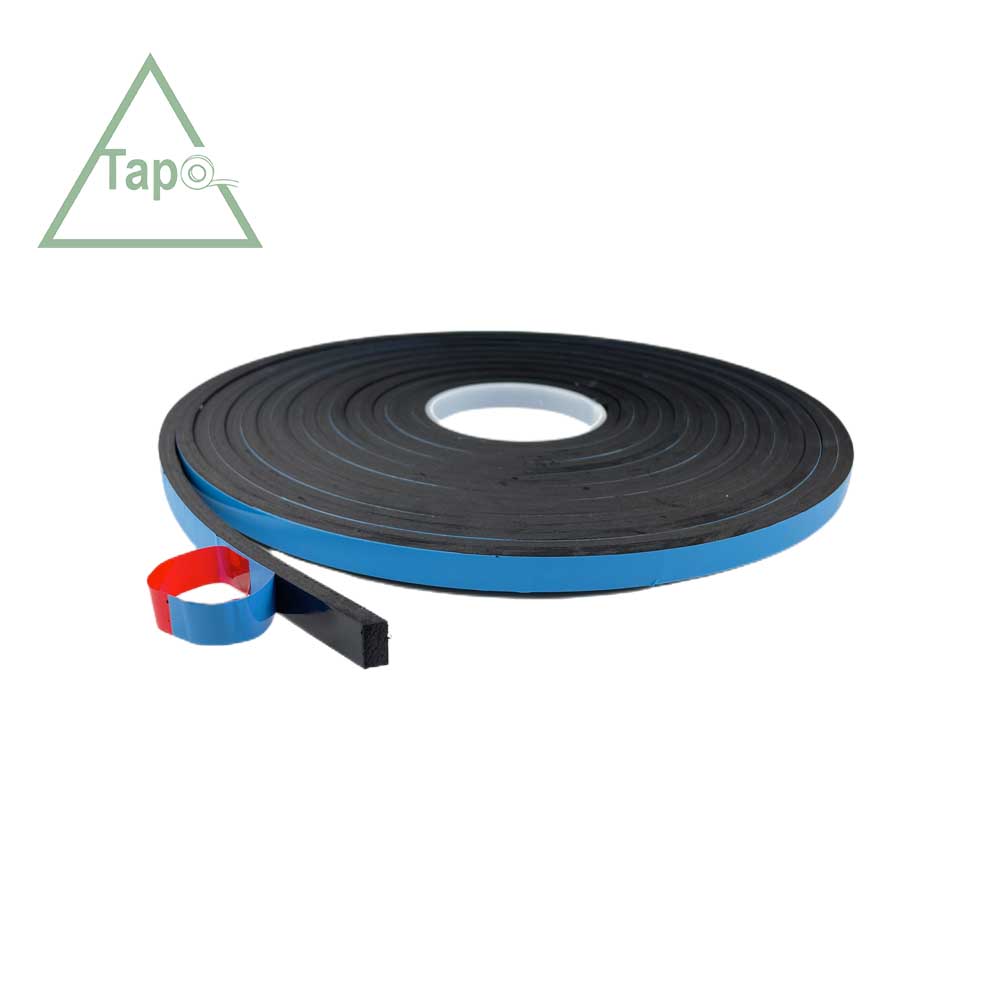
Plastic glazing strips for windows, also known as window glazing beads or stops, are essential components used in the installation of glass panes within window frames. These strips serve multiple purposes, including securing the glass, providing a neat finish, and ensuring that the window assembly remains airtight and weather-resistant. This article delves into the characteristics, advantages, suitability for windows, and step-by-step installation process of plastic glazing strips.

Table of Contents
Characteristics of Plastic Glazing Strips
Durability:
Made from high-quality PVC (polyvinyl chloride) or other durable plastics, these glazing strips are resistant to wear and tear, ensuring long-lasting performance.
Flexibility:
Unlike metal alternatives, plastic glazing strips offer flexibility, making them easier to work with during installation and reducing the risk of breakage.
Weather Resistance:
They exhibit excellent resistance to UV rays, moisture, and temperature variations, preventing warping, rotting, or corrosion over time.
Insulation:
The material provides good thermal insulation properties,by minimizing heat transfer through the window, it contributes to energy efficiency
Lightweight:
Their lightweight nature simplifies handling, transportation, and installation, particularly in hard-to-reach areas.
Aesthetic Appeal:
Plastic glazing strips can enhance the visual appeal of windows while blending seamlessly with different architectural styles, for they are available in various colors and finishes,
Cost-Effectiveness:
Compare them to traditional materials like wood or metal, plastic glazing strips are an economical solution without compromising on quality.
Maintenance-Free:
Requiring minimal upkeep, these strips retain their appearance and functionality over the years with simple cleaning.
Customization:
They can be easily cut to size using basic tools, allowing for precise fitting to any window dimension.
Safety:
Being non-toxic and flame-retardant, they pose no health risks during installation or throughout their lifespan.
Why Plastic Glazing Strips Suit Windows
The unique combination of durability, ease of installation, weather resistance, insulation properties, and aesthetic versatility makes plastic glazing strips an ideal choice for windows. The ability to stand harsh environmental conditions ensures that windows remain functional and aesthetically pleasing for extended periods. Moreover, their lightweight nature facilitates effortless handling, even in large-scale projects, reducing labor costs and installation time.
Step-by-Step Installation Process of Plastic glazing strips for windows
To illustrate the practicality of using plastic glazing strips, here’s a detailed guide on how to install them:
Preparation:
Begin by gathering all necessary materials – plastic glazing strips, measuring tape, utility knife or saw, safety goggles, gloves, and possibly a level or straight edge for alignment. Ensure the window frame is clean, dry, and free of debris.
Measuring and Cutting:
Measure the dimensions of your window opening where the glazing strips will be applied. Mark these measurements on the plastic strips and use a utility knife or saw to cut them to the required lengths. Remember to account for any overlap if joining two strips together.
Test Fit:
Before applying adhesive, perform a test fit of the cut strips around the window frame to ensure they fit snugly without gaps. Make adjustments as needed.

Applying Adhesive:
Depending on the type of plastic glazing strip and manufacturer recommendations, you may need to apply a suitable adhesive (e.g., silicone sealant or construction adhesive) along the backside of the strip. Alternatively, some strips come pre-applied with adhesive backing.
Installation:
Starting at one corner of the window frame, carefully press the first strip into place, ensuring it is level and flush with the frame edges. Continue around the perimeter, maintaining consistent pressure to secure the strip firmly. If using multiple strips, overlap the ends slightly for a seamless appearance.
Final Touches:
Once all strips are installed, inspect for any gaps or misalignments. Use additional adhesive or adjust the strips as necessary to achieve a perfect fit. Allow the adhesive to cure according to the manufacturer’s instructions before proceeding.
Cleanup:
Remove any excess adhesive from the window frame and surrounding area using a damp cloth or sponge. Dispose of waste materials responsibly.
Plastic glazing strips for windows represent a smart investment for both homeowners and professionals seeking a reliable, cost-effective, and aesthetically pleasing solution for securing glass panes. Their superior characteristics, ease of installation, and long-term benefits make them a preferred choice over traditional materials. By following the outlined steps, anyone can successfully install these strips, transforming ordinary windows into energy-efficient, weather-resistant features that stand the test of time. As more people recognize the value of plastic glazing strips, we anticipate increased adoption across diverse building projects worldwide, further solidifying their role in modern architecture and design.
For more information, please contact Toptape.


